Image editing has become an essential skill for both individuals and businesses. Whether you’re a social media user or a professional photographer, the ability to resize an images is critical to maintaining visual consistency across platforms. With the popularity of photo editing apps like PicsArt, resizing a photo has never been easier.
We’ll walk you through the step-by-step process of resizing an original image in PicsArt Free Online, along with helpful tips and tricks to upscale your editing skills.
Understanding Image Size and Aspect Ratio
Before the resizing process, it’s important to understand the concepts of image size without losing quality. Image size refers to the dimensions of an image, usually measured in pixels (px). It determines the width and height of the image and plays an important role in how the image appears on different devices and platforms.
On the other hand, aspect ratio is the proportional relationship between the width and height of an image. This determines the aspect ratio of the image and can be expressed as a ratio (eg, 4:3) or as a decimal value (eg, 1.33).
Step-by-step Guide – Best Way to Resize an Images in PicsArt
Now that we have a basic understanding of image size, the process of resizing an image in PicsArt Online:
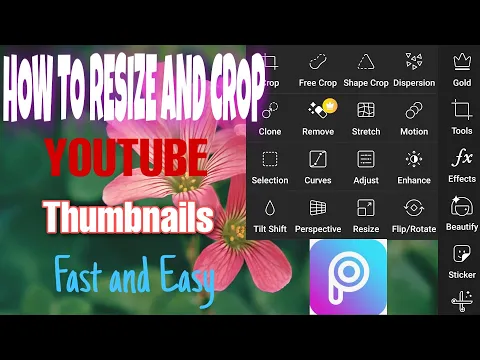
Step 1: Accessing PicsArt Image Resizer
To get started, open your favorite web browser and go to the PicsArt website. If you do not have an account, you will need to sign up for a free account to access the online editing features.
Step 2: Uploading for Resize your Image
After logging in, look for the “Upload” button or icon, which is usually at the top of the screen. Click it to browse and select the image you want to resize from your computer or device. PicsArt supports a wide range of image formats, including JPEG, PNG, and GIF.
Step 3: Opening the Image in the PicsArt Editor
After selecting the image, it will be opened in the PicsArt editor. Here, you will find various editing tools and options to make your image. To resize an image, look for the “Resize” or “Image Size” option, usually located in the Edit menu at the top or side of the toolbar.
Step 4: Adjusting the Image Size
Click the “Resize” or “Image Size” option to open the resizing tool. In the tool, you will see options to adjust the width and height of the image. You can either enter specific values in pixels or choose from preset options, such as percentages or predefined dimensions (eg, A4 size, 2×2 size). Be sure to maintain the aspect ratio to avoid image distortion.
Step 5: Changing the Aspect Ratio
If you want to change the aspect ratio of an image, PicsArt provides an easy option to do so. Find the “Aspect Ratio” or “Cap Aspect Ratio” checkbox and enable it. This will ensure that the width and height of the image are adjusted proportionally.
Step 6: Previewing and Saving the Easily Resize Image
Once you’re satisfied with the resized image, take some time to preview it and make any final adjustments if needed. You can zoom in or out to get a better view of the image. When you’re ready, click the “Save” or “Download” button to save the image to your computer or device. PicsArt usually provides options to choose the image format and quality before saving.

Tips and Tricks for Image resize in PicsArt
Now that you know how to resize an image in PicsArt Online, here are some additional tips and tricks to increase your editing experience:
1. Maintain Image Quality (High pixel)
When resizing an image, it is important to maintain its quality. Avoid enlarging the image to significantly larger sizes, as this can result in pixelation and loss of detail. If you need to enlarge an image, consider using advanced resizing techniques or start with a higher-resolution image.
2. Crop Before Resizing (Reduce image size)
If you want to resize only a specific part of an image, it is recommended to crop the image first. This allows you to focus on the desired area and avoid unnecessary resizing of the entire image. PicsArt provides a dedicated crop tool that you can use before resizing.
3. Experiment with Aspect Ratios
Resizing the image also allows you to experiment in different ways. For example, you can convert a landscape image to a square format for social media or a portrait image to a widescreen format for a website banner. Play with different proportions to get the desired visual effect.
4. Consider File Size and Compression
Resizing an image can also affect its file size. If you’re planning to use a resized image on a website or social media platform, it’s important to consider the file size and optimize it for faster loading times. PicsArt provides options to compress and enhance images during the saving process.
Enhance, Impress, or Resize Photos Now!
Image resizing in PicsArt Online is a simple yet powerful way to enhance your visual content. Whether you’re resizing images for personal projects, social media posts, or professional use, follow the step-by-step guide and use the tips and tricks in this article to help you get the results you want.
Remember to experiment, explore different aspect ratios, and maintain the quality of your images throughout the resizing process. Happy editing!