When it comes to creating eye-catching visuals, knowing how to make your image transparent can take your design to the next level. Whether you’re a graphic designer, content creator, or just someone looking to add some flair to your social media posts, mastering this skill is essential.
Now, we’ll walk you through the process of making an image transparent in Picsart, one of the most popular editing apps available. We’ll cover everything from the basics to advanced techniques, so you can create stunning visuals with ease.
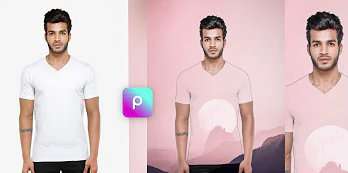
Moreover, Picsart comes with multiple tools like changing the background colors of images, removing image backgrounds, and many online tools.
Understanding Transparency: What Is It and Why Is It Important?
Before we jump into the process of making an image transparent, let’s first understand what transparency is and why it is important in the world of editing. Transparency refers to the ability of an image to allow what lies behind it to be revealed. Instead of having a solid, opaque background, parts of the image or even the entire background can be made transparent.
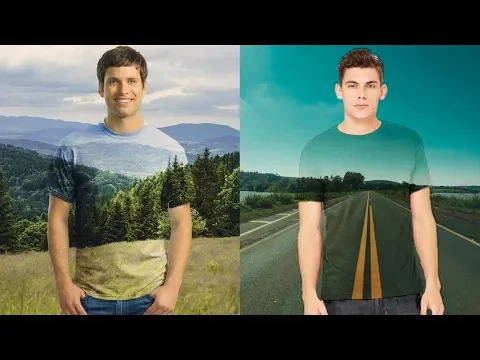
Creating an image background is a valuable tool for designers because it allows the integration of pictures across different backgrounds and layers. This opens up many possibilities, enabling you to create visually appealing designs that blend harmoniously with their surroundings. Whether you want to add text to an image, overlay it on a different background, or create a logo with a transparent background, understanding how to make an image transparent.
Choosing the Right File Format for Transparency
When working with transparent images, choosing the correct file format is important. The most commonly used file formats for images are PNG, JPG, and GIF, each with its characteristics and level of support for transparency.
PNG (Portable Network Graphics): PNG files are a great choice when it comes to transparency. They can maintain an alpha channel, which allows for different levels of opacity in an image. This means that parts of a PNG image can be fully transparent, or partially transparent. PNG files use lossless compression, ensuring high image quality without sacrificing detail. They are ideal for images that require crispness and clarity, especially those with text or line art.
JPG (or JPEG): Unlike PNG, JPG files do not support transparency. They don’t have an alpha channel, so any transparent part of a JPG image is usually filled with a solid color, white. JPG files use lossy compression, which sacrifices some image quality to reduce file size. This compression can result in blurring, especially in text, sharp lines, or high-contrast images. To avoid this, consider uploading images in PNG format.
GIF (Graphics Interchange Format): GIF files support transparency but in a limited way. They can have a transparent color designated as fully transparent, but they do not support different levels of transparency. GIFs are also limited to 256 colors, which can reduce image quality, especially in images with gradients or many colors.
When working with transparency in Picsart, it’s best to use PNG files whenever possible to ensure high quality and flexibility in your designs.
How to Make Image Transparent Background in Picsart
Now that we have a solid understanding of transparency and the importance of choosing the right file format, the process of making an image transparent is in Picsart. Picsart, also known as a free transparent background maker, offers a wide range of tools and features, making it a great choice for creating transparent images.
Step 1: Install and Open Picsart
If you don’t already have it, start by installing the Picsart app on your device. Once installed, open the app to start the editing process.
Step 2: Import Your Image
Tap the “+” icon at the bottom of the screen to import the image you want to make transparent. You can select a photo from your device’s gallery or take a new photo using the app’s camera function.
Step 3: Select the Background Eraser Tool
Once your photo is imported, tap the “Tools” icon at the bottom of the screen to access the editing tools. Scroll through the options and select the “Background Eraser” tool.
Step 4: Adjust the Tool Settings
Before you start removing the background, take a moment to adjust the tool settings to achieve the desired level of accuracy. You can adjust the brush size, hardness, and opacity to suit your needs. Experiment with different settings to find the best balance for your image.
Step 5: Erase the Background
With the tool settings adjusted, it’s time to start removing the background. Use your finger or stylus to trace the edges of the object you want to keep while erasing the surrounding background. Take your time and be as accurate as possible to get the best results.
Step 6: Refine the Edges
Once you’ve erased the majority of the background, zoom in on the image to refine the edges. Use a small brush size and carefully erase any remaining bits of background that may be visible around the edges of the object. This step is critical to creating a smooth and professional-looking transparent image.
Step 7: Save and Export
Once you’re satisfied with the results, tap the checkmark icon to save your transparent image. Picsart, being an online transparent background image maker, will automatically save an image with a transparent background in PNG format, preserving the transparency you created.
Advanced Techniques: Adding Transparency to Specific Image Elements
While the basic process described above will help you create transparent backgrounds for your photos, Picsart also offers advanced techniques for adding transparency to specific elements within an image. This can be especially useful when you want to make only parts of an image transparent while leaving the rest intact.
Using Layers and Masks
Picsart allows you to work with layers, a powerful feature for adding transparency to certain elements. By uploading a new layer and applying a mask, you can selectively erase parts of the image, making them transparent.
To use layers and masks in Picsart:
This technique gives you precise control over which parts of the image are transparent, allowing you to create stunning visual effects.
Adding Transparent Text or Graphics
Another advanced technique you can try in Picsart is adding transparent text or graphics to your photos. This can be a great way to overlay text or logos onto images without interrupting the background.
To add transparent text or graphics in Picsart:
This technique allows you to customize your images with text or graphics while maintaining transparency, giving your design a professional and polished look.
Tips for Creating a Background Transparent PNG
Now that you’ve learned the basics of making a photo transparent in Picsart, here are some additional tips to help you get the most out of this powerful editing feature:
These tips or tricks increase the productivity of your editing journey on Picsart. Also, if you’re a regular user, be sure to explore the free transparent background maker and many other tools on PicsArt.
Explore PicsArt’s transparency features now!
Learning how to make an image transparent in Picsart opens up a world of creative possibilities for your designs. Whether you’re adding transparent text, overlaying images, or creating a logo with a transparent background, Picsart provides the tools you need to bring your vision to life.
By following the steps outlined in this comprehensive guide and experimenting with advanced techniques, you’ll be on your way to creating stunning visuals that stand out from the crowd. So, unleash your creativity and get ready to transform your photos with transparency in Picsart!